pfSense Installation Guide
PfSense is an open source firewall and router distribution based on FreeBSD and the result of a m0n0wall fork. PfSense is rock solid and doesn’t suffer from hardware or software limitations imposed by the vendors. Despite being based on FreeBSD, the administration of pfSense is done via a web interface that is not useless. There is no need for previous FreeBSD experience in order to administer pfSense. For those who have no previous experience in installing FreeBSD or using text based installers may find the installation process intimidating or discouraging. This tutorial aims to prove the opposite, once you are done with this tutorial you will find the text based installer to be intuitive.
Before You Can Install
You will need to download the pfSense ISO which is also a live CD or the embbeded image if you wish.
- The live CD can be used for installations on a hard drive.
- The embedded can used for installations on embbed hardware that makes use of storage media like compact flash cards.
For this tutorial, I will use the live cd ISO pfSense-1.2.3-RELEASE-LiveCD-Installer.iso.gz(at the time of this writing). The ISO needs to be burned in a CD/DVD.
Note: If you download the iso.gz on Windows you will need a tool that can open .gz, I recommend you download 7Zip .
Remember to set your motherboard BIOS to boot from CD/DVD media.
Let’s Start
After booting pfSense will present you with a series of options, you can use the default by pressing the Enter. 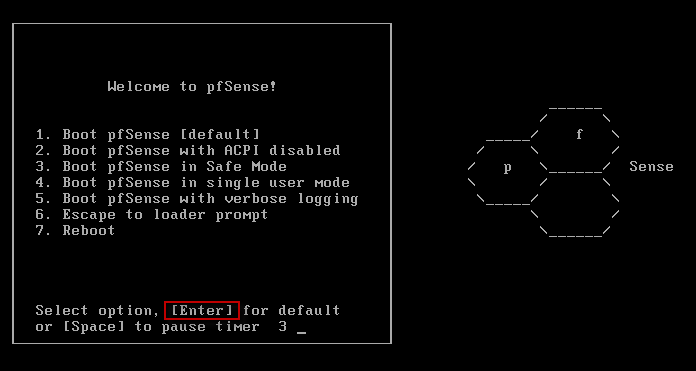 Now allow pfSense some time to do many things like mount the file file system, etc…. After it’s done you have 10 seconds to press I on your keyboard to launch the installer, otherwise pfSense will auto boot (we don’t want auto boot).
 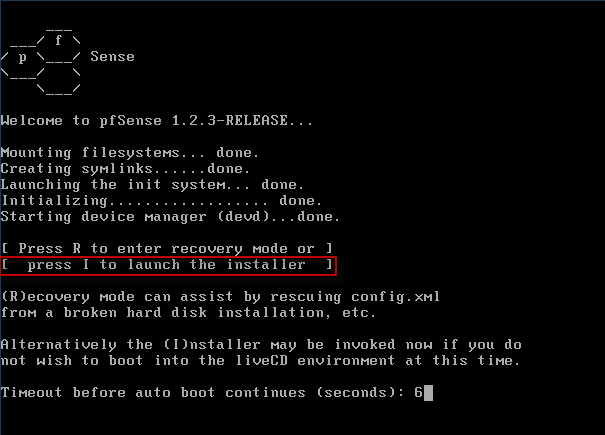 On this screen the installer will allow you to change some aspects like: console font and keymap. Since I don’t wish to change any of the defaults select Accept these settings.
 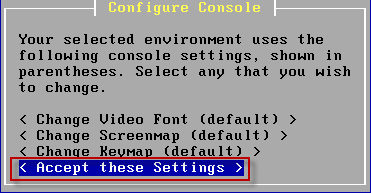 On this screen we can choose between installing using the defaults, do a custom install, or rescue an existing install. The defaults will work, select Quick/Easy Install.
 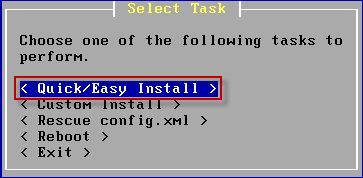 This installation will occupy the entire hard drive which is why I select OK to continue.
 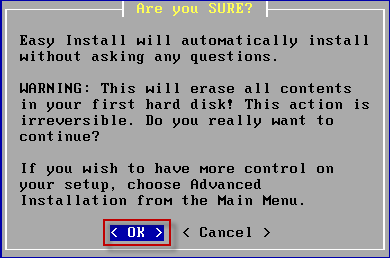 Installation starts……………….. [
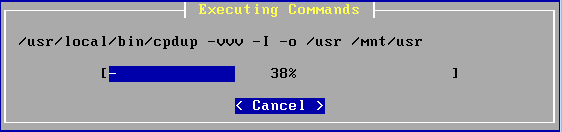 ](http://picasaweb.google.co
m/lh/photo/c5okwZL-jNbNNxjDyU-qdQ?feat=embedwebsite) Choose carefully, in order to select the right option on this screen you have to be fully aware of the hardware you are using. Since the system I am using to install pfSense on has one processor I select Uniprocessor Kernel(one processor). 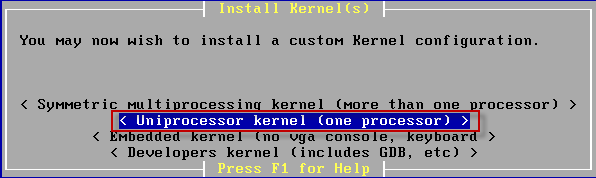 Reboot and remove the CD/DVD from the drive tray.
 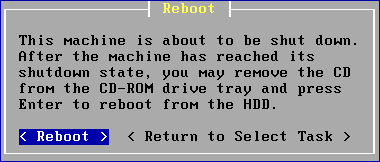 One the first things pfSense will do is attempt to label the network interfaces(remember their names). You will also be presented with the question ‘Do you want to set up VLANs now ?’, since I rather set up VLANs via the web interface I typed N and press on the Enter key.
 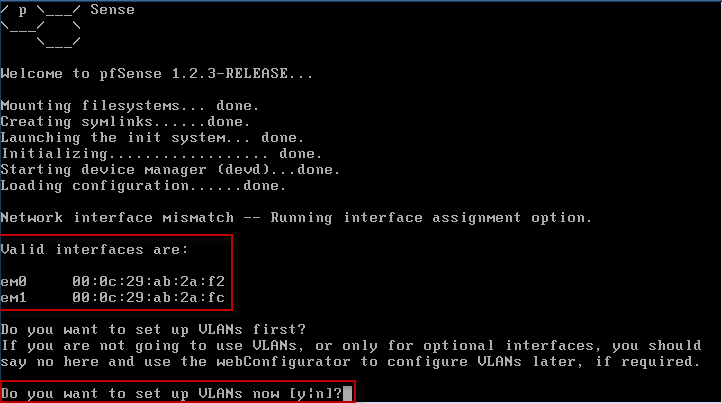 Move on to the network interfaces, auto detection never works for me instead I typed the name of the network interface and press Enter. Both of the interfaces were detected and given the names of em0 and em1. Pfsense will try assign one interface to the LAN interface and the second one to the WAN interface, type Y to proceed.
  Let me break the news, you have just installed pfSense to a hard drive and assigned both of the network interfaces to their proper duties. In the screenshot below you can see the IP addresses for both the LAN and WAN interfaces.
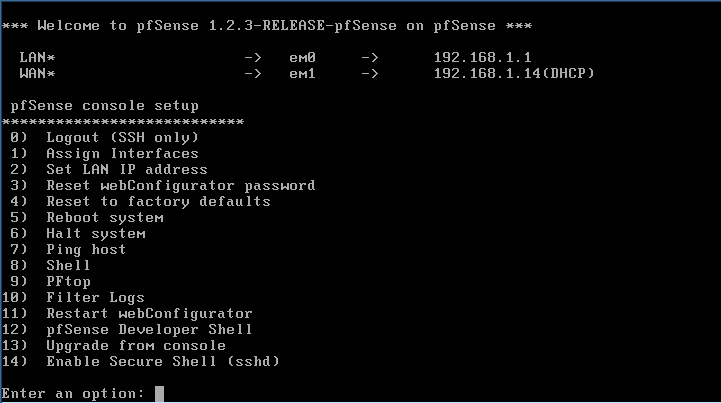
Web Interface
You can make further changes by login-in to the web interface by using the LAN IP address. The default username is admin and default password is pfsense. 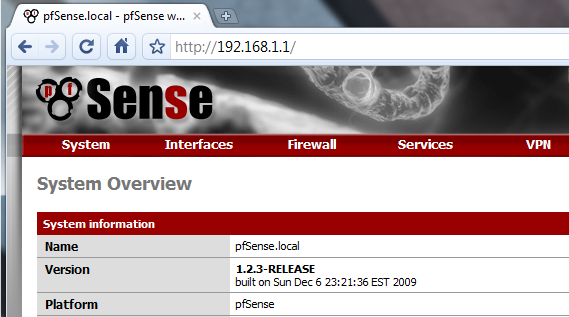 The text based installer is easy to understand, if you still don’t like it remember you won’t have to make use of it often.
Links
freebsd, pfsense, text installer — Mar 29, 2010