Configure Ubuntu To Serve As An iSCSI Target
This tutorial will cover the required steps to configure a basic iSCSI Target on Ubuntu. The installation for this tutorial was performed on an Ubuntu 12.04 64-bit system, but the same configuration applies to Ubuntu 12.04-32bit.
Before We Install
Before the target can be installed check to see of the system you are planning to run the target from is up to date.
sudo apt-get update
sudo apt-get upgrade
Target Installation, Minimal Changes
Proceed to install the iSCSI target(iscsitarget) along with iscsitarget-source and iscsitarget-dkms.
sudo apt-get install iscsitarget iscsitarget-source iscsitarget-dkms
If you don’t install the extra two packages you will be greeted with the following error every time you attempt to restart the target.
user@ubuntu:~$ sudo service iscsitarget restart
* Removing iSCSI enterprise target devices: [ OK ]
* Starting iSCSI enterprise target service FATAL: Module iscsi_trgt not found.
Next edit /etc/default/iscsitarget. Change the default value of ISCSITARGET_ENABLE=false over to ISCSITARGET_ENABLE=true. Not doing so will not allow the target to start.
sudo nano /etc/default/iscsitarget
ISCSITARGET_ENABLE=true
Storage Creation
When working with iSCSI you have to also think of LUN’s. This when you decide whether you want to use files or partitions when offering the targets storage to the iSCSI clients. For the tutorial I will be using files. To create a file we can use dd to create and empty file that will grow once the users start storing file in it. The file weights 50GB.
dd if=/dev/zero of=/media/volume0/storlun0.bin count=0 obs=1 seek=50G
I want to store the resulting files in a different path than my home directory which is why I specified that the file be deposited at /media/volume0.
Target Creation
Configurations and targets we create can be found in the /etc/iet/ietd.conf configuration file.
sudo nano /etc/iet/ietd.conf
Scroll to the bottom of the configuration file and add:
Target iqn.2012-05.local.mynet:storage.sys0
Lun 0 Path=/media/volume0/storlun0.bin,Type=fileio,ScsiId=lun0,ScsiSN=lun0
If you don’t want to use files you can also use partitions, just use Lun 0 Path=/dev/sdb1,Type=fileio instead. The first line can be changed, but the second line specifies where the LUN actually is. If you want, you could create a second LUN using LUN 1 Path=/XXXX XXXX XXXX and expose a second iSCSI drive withing the same target, this assumes you have created a second storage file.
Restart Target
All that is left to do is restart the target with our changes.
sudo service iscsitarget restart
Test The Target
To test the target I will be using built-in Windows 7 iSCSI client(initiator) 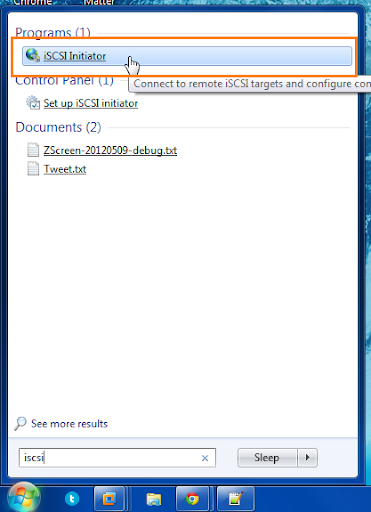 Enter the IP address of the Ubuntu server and click on Quick Connect…
 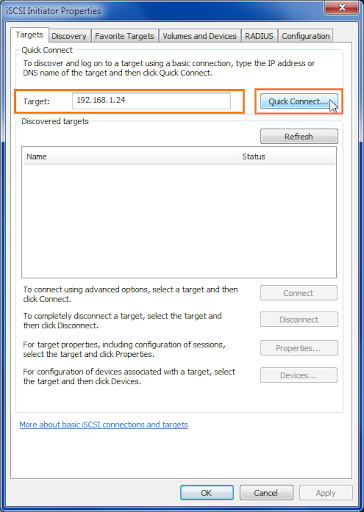 You are now connected, click on Done.
 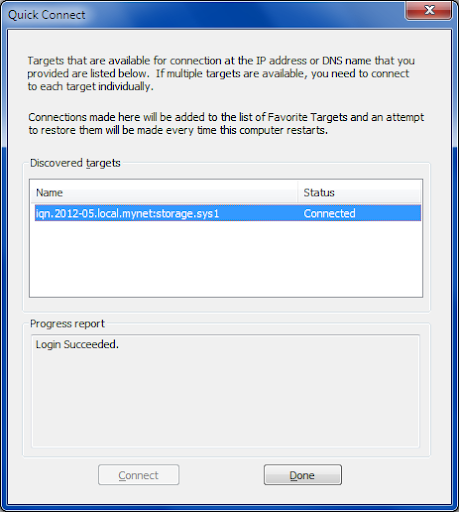 Go over to Administrative Tools > Computer Management.
 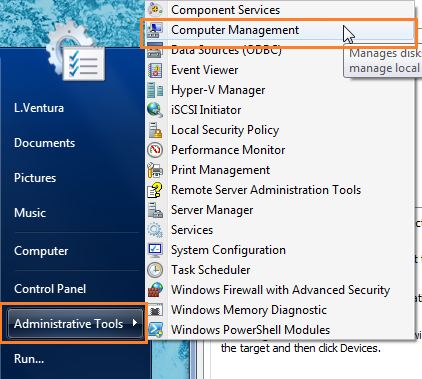 On the left sidebar you should notice the Disk Management option.
 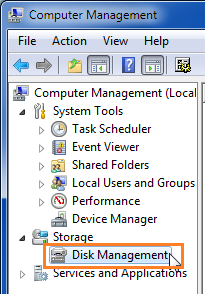 Look for the iSCSI drive, for this tutorial we made a 50GB drive which is listed at the bottom. Here you can choose to format the drive if you like.
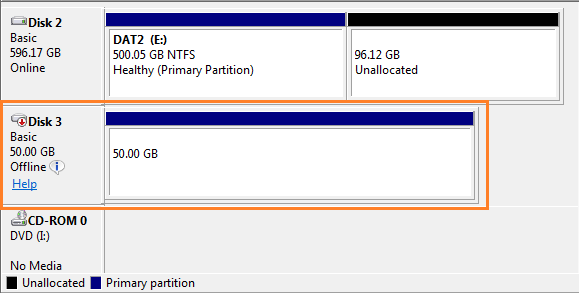
Conclusion
As you can see configuring an iSCSI target in Ubuntu doesn’t have to be complex. Keep in mind the above was just a basic installation, deploying iSCSI also brings other variables in to consideration such as security since the above configuration will allow just about any one to connect to the target. Perhaps I should make another post about iSCSI best practices, thank you for reading. If you have any questions or comments use the form below.