Temperature monitoring with Lm-sensors on Ubuntu
I tend to do a lot of video encoding which stresses my workstation a bit, also not long ago I changed motherboards. Well that meant I had to remove the CPU and add a new layer of thermal compound. I did measure the temperature with built-in BIOS utility but I still had question regarding the actual CPU temperature while under normal use. Essentially all I had to do was install lm-sensors and the GNOME sensor applet. Keep in mind for this article I used a DG31GL Intel Motherboard and a Q6600 Intel processor, all sensors were detected without a problem. Results may vary depending on the hardware.
Installation
First we need to install the vital lm-sensors and the GNOME applets that will later present the information on the desktop.
sudo apt-get install lm-sensors sensors-applet hddtemp
Next we do a sensor detection (results will vary based on hardware support).
sudo sensors-detect
After the sensor detection is done you will have to answer a series of questions, accept the defaults by pressing Enter, except on the last question you have to type yes to automatically add the output to /etc/modules. Output.
#—-cut here—-
Chip drivers
w83627ehf
coretemp
#—-cut here—-
Do you want to add these lines automatically? (yes/NO)yes
Add the GNOME applet
To add the applet responsible for displaying the data go to. Right click on the top panel > click on Add to Panel. Search for Hardware Sensors Monitor > click on Add. The applet will display the temperature data on the system, processor, hard drive and AUX Temp. Not all of the data is necessary or useful, if you like to change what’s displayed. Right click on the applet and select Preferences. Move on to the Sensors tab and check or unchecked what you don’t like. 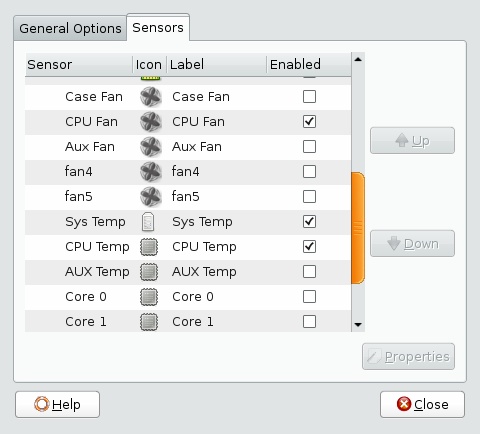 The end result.
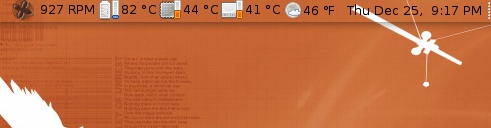
References
lm-sensors, ubuntu — Dec 25, 2008