How To Create A Parted Magic Bootable USB Flash Drive
Parted Magic is one of the best live toolbox oriented distributions available, don’t let the name fool you in the 80MB download you will find an extensive collection of tools intended for: disk cloning, partitioning, data recovery, and hardware testing to name just a few. This time I wanted to install Parted Magic on an extra and by now outdated 256MB USB flash drive I had laying around. While the Parted Magic website does a good job providing instructions on how to perform a USB install I knew there had to be a tool that automated the process(easier). Luckily, I found two options. One came built into the Parted Magic Live CD called Make Parted Magic USB which can create a bootable USB drive using the same image from the live CD. The second solution is called UNetbootin a tool that allows for the creation of bootable USB drives it comes with a list of distributions to choose from or the user can provide the ISO. In the end both tools do what I want. About Parted Magic
The Parted Magic OS employs core programs of GParted and Parted to handle partitioning tasks with ease, while featuring other useful programs (e.g. Partimage, TestDisk, Truecrypt, G4L, SuperGrubDisk, ddrescue, etc…) and an excellent set ofdocumentation to benefit the user. An extensive collection of file system tools are also included, as Parted Magic supports the following: ext2, ext3, ext4, fat16, fat32, hfs, hfs+, jfs, linux-swap, ntfs, reiserfs, reiser4, and xfs.
First Method: UNetbootin
First you need to visit the UNetbootin home page at SourceForge and download the executable usually named unetbootin-windows-XXX.exe. 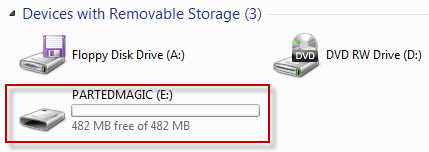 Double click on the UNetbootin executable.
  Once Unetbootin starts on the top click on Distribution and from the drop down menu proceed to search for Parted Magic and optionally you can go with the Latest_Live.
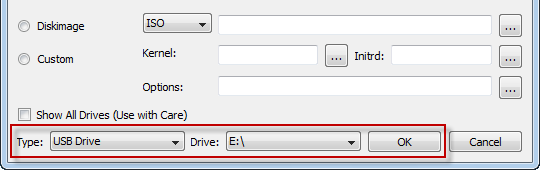
 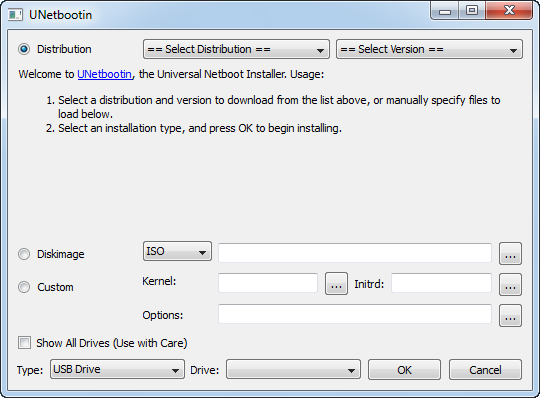 At the bottom on Type you will have to specify the USB drive where Parted Magic will be installed to. My USB drive was assign the letter E by Windows. And click on OK.
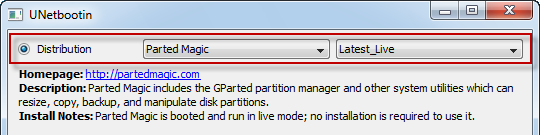
 UNetbootin will now download , extract and install Parted Magic in to the USB flash drive.
 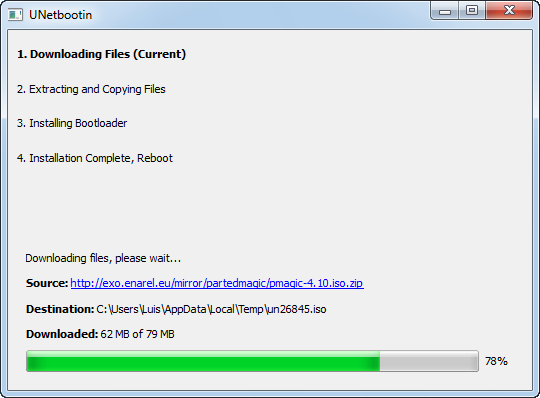 After the process is completed you can either Reboot Now or Exit UNetbootin.
 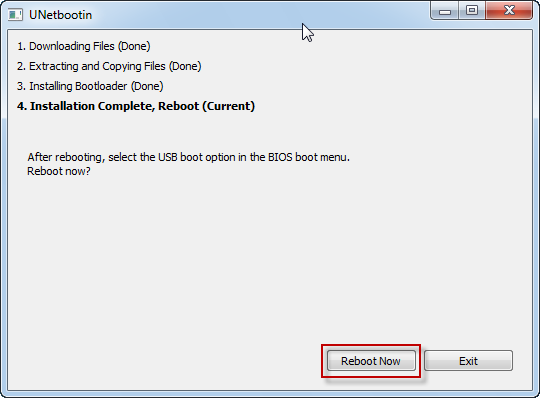 If you reboot the system remember to set the BIOS to boot from removable media. Congratulations you now have a bootable flash drive.
Second Method: Make Parted Magic USB
If you have a bootable Parted Magic CD/DVD you can use it to create a bootable USB drive thanks to the Make Parted Magic USB tool it includes. Of course you first need to boot from the CD/DVD to use the tool. 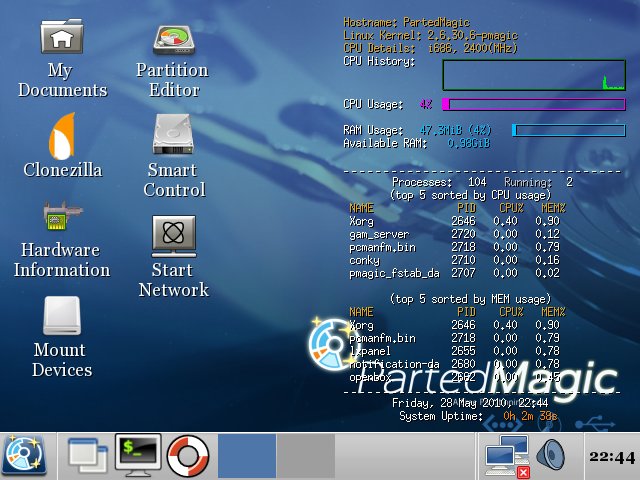 First Mount the USB flash drive by using Mount-gtk which can be found on the desktop. You can identify the USB flash drive by looking at the size of the drive and model. And mount it by clicking on the Mount button.
 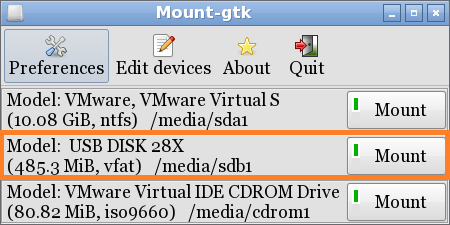 Go back to the Desktop and click on the Parted Magic button located at the left bottom corner and click on System Tools and Make Parted Magic USB.
 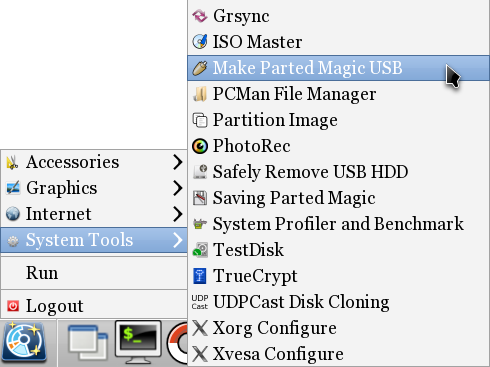 Since only one drive was mounted you will only be presented with the mounted drive. Click on OK to select it.
 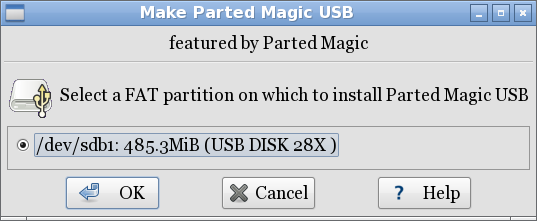 The process starts.
 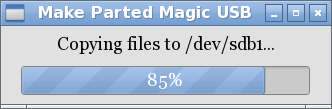 Click on OK to acknowledge the creation of the USB flash drive.
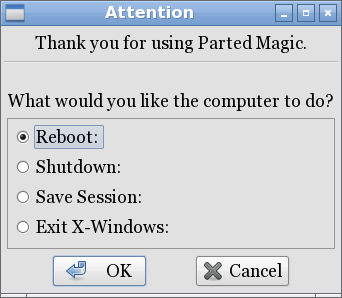
 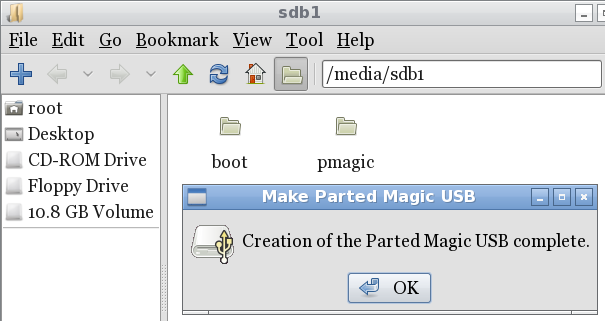 Go back to the Parted Magic button and right click on it, then select Logout and Reboot.
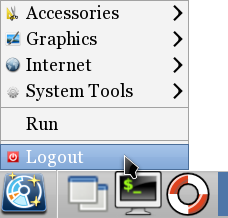
 Both methods are easy to use and will result in a bootable USB flash drive.
Links
UNetbootin at SourceForge Parted Magic Home Page
— Jun 23, 2010